
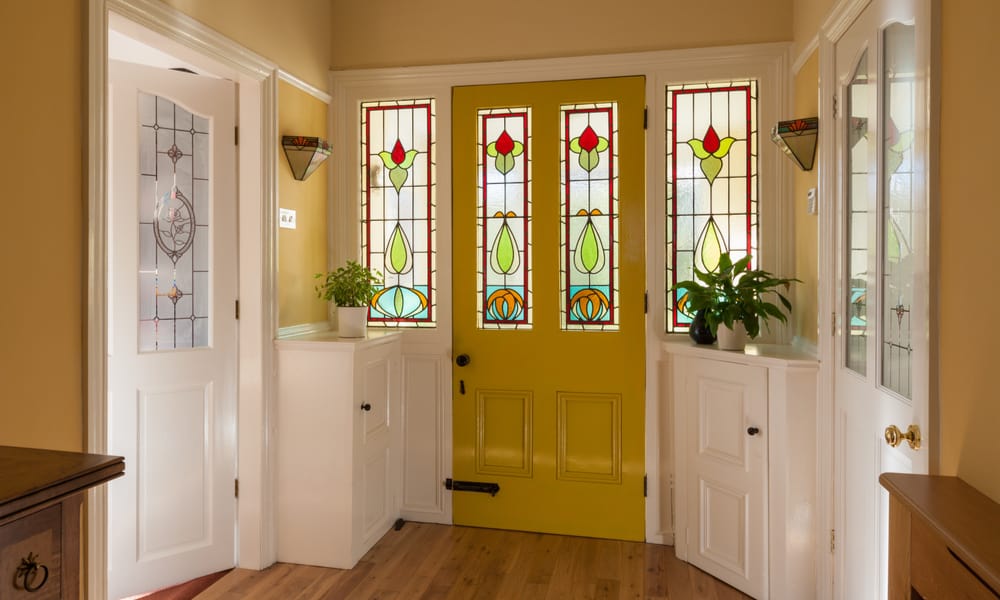
Stained glass windows are more than just beautiful works of art; they are pieces of history that add character and charm to any home. However, many older stained glass windows lack the energy efficiency needed in today’s homes.
That’s where our stained glass encapsulation process comes in. By incorporating these intricate, historic designs into modern triple glazing, we can preserve their beauty while significantly improving the energy efficiency of your property. In this blog post, we’ll take you through the step-by-step process of how we encapsulated 100-year-old stained glass into a triple-glazed unit, demonstrating our commitment to quality and craftsmanship.
What Is Stained Glass and How Encapsulation Works
Stained glass has been used for centuries as a decorative feature in period and heritage properties. Made from individual pieces of coloured glass joined with lead cames, it adds character, colour and craftsmanship that modern glass often cannot replicate.
However, traditional stained glass was almost always installed as single glazing. Encapsulation allows the original stained glass to be carefully sealed within a modern double or triple glazed unit, preserving its appearance while dramatically improving protection and performance. The historic panel remains visible and unchanged, but benefits from the insulation and durability of modern glazing.
Learn More About Glazing Request Expert AdviceStep 1: Breaking Down Previously Encapsulated Stained Glass
This particular piece of stained glass had been encapsulated in the past so we began by carefully breaking down the old unit. This allowed us to remove the stained glass and begin our preparations on the glass to ensure it was ready to be encapsulated in our signature glazing.


Step 2: Resizing Unit
Next, we had to resize the stained glass unit to the appropriate size for encapsulation. This involved measuring the correct amount to remove from either side to ensure an even-sized unit. We then marked out the cut and used a glass cutter to trim excess glass. Then we carefully bent the lead to ensure a clean break.
Common Issues with Traditional Stained Glass
While stained glass is visually striking, it can present challenges in everyday living. As single glazing, it offers little insulation, allowing warmth to escape and cold to enter the home. Draughts and external noise are also common issues.
Over time, exposure to moisture and temperature changes can lead to condensation, deterioration of leadwork, and damage to painted details. Stained glass is also fragile by nature, meaning age and movement in a building can increase the risk of cracking or bowing if it is left unprotected.
Glazing Options Book Your Free Assessment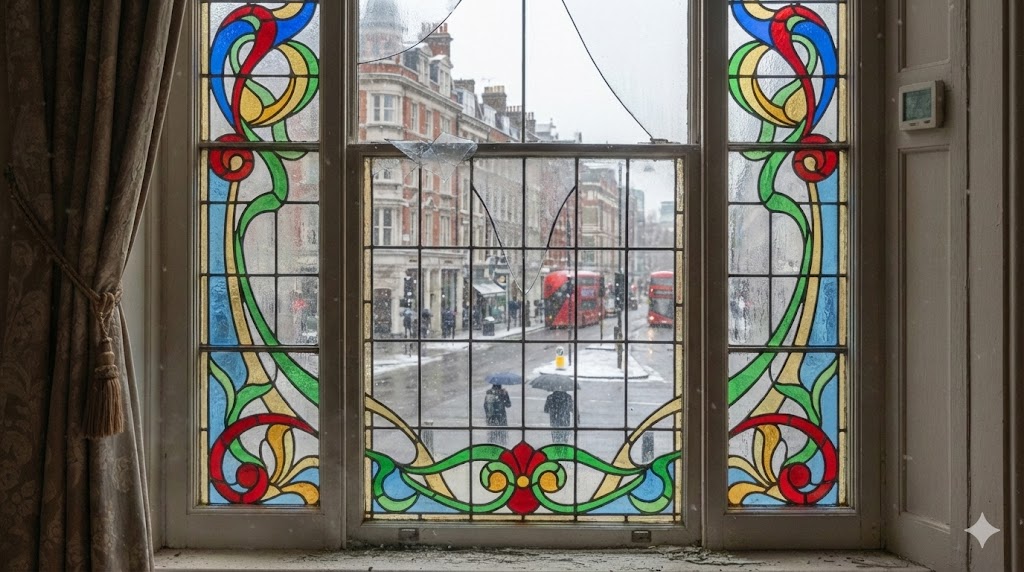
Step 3: Designing & Creating Matching Side Panels
We were tasked with creating matching panels to be installed on either side of the main stained glass unit. We designed brand new panels and based our design on some old broken-down units from the property. This involved meticulous frosting and colour matching to find the closest glass. We cut the glass and then framed it to form the side panel.


Step 4: Lead Soldering
Once we had finished positioning and framing the glass, it was time to solder lead onto the corners and meeting points of the frame. This ensured it was sturdy and the glass would stay in the frame.

Bespoke Solutions for Your Home
Thinking about improving your home but not sure where to start? We take the time to understand your property, talk through any issues and explore how you would like to improve it.
Every solution we offer is bespoke, carefully tailored to suit your home, your style and your needs. Get in touch today for a free quote or a free energy assessment and let’s find the right solution for you.
Speak to our team View our productsStep 5: Sending Units To Be Encapsulated
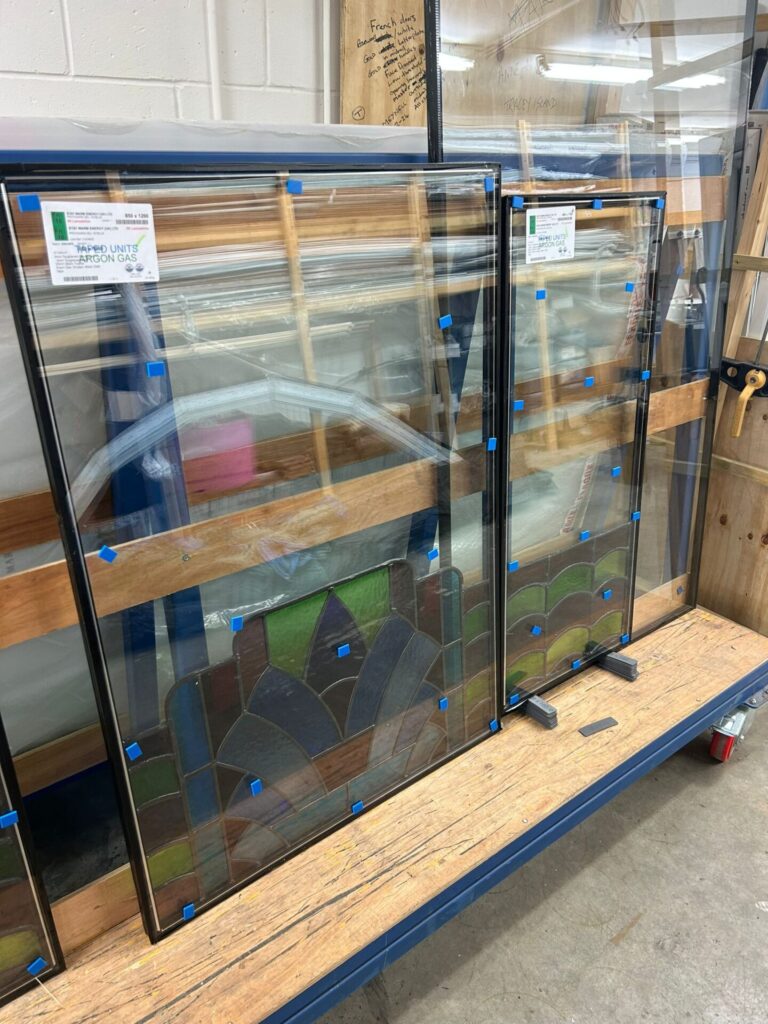
Now the glass units were complete, we sent them off to our glass suppliers, CCG, who encapsulated them into triple glazing ready to be installed. Encapsulating stained glass in triple glazing offers a host of benefits. Firstly, it significantly enhances the energy efficiency of your windows, helping to keep your home warmer in the winter and cooler in the summer. This upgrade can lead to substantial savings on energy bills. Additionally, triple glazing provides excellent sound insulation, reducing external noise and creating a more peaceful living environment. The encapsulation process also protects the delicate stained glass, preserving its intricate designs and vibrant colours.


Step 6: Installation Process
With the triple-glazed units ready, the installation process could begin. Precision and attention to detail were crucial to maintain the integrity and beauty of the stained glass. Each unit was meticulously placed into its frame, ensuring a perfect fit and secure seal. The final step involved beading the glass and checking for any gaps to guarantee maximum insulation and energy efficiency. Throughout the process, we made sure to handle the glass with the utmost care.
Benefits of Encapsulating Stained Glass
Encapsulating stained glass allows homeowners to retain original features without compromising on comfort. The sealed glazing unit improves insulation, helping reduce draughts and create a more comfortable indoor environment.
Encapsulation also protects the historic glass from weather, condensation and pollution, helping preserve its condition for years to come. Additional benefits include improved sound reduction, enhanced security from toughened outer panes, and the peace of mind that comes from safeguarding a valuable feature of the home.
Cost Effective Glazing Options Take the Next Step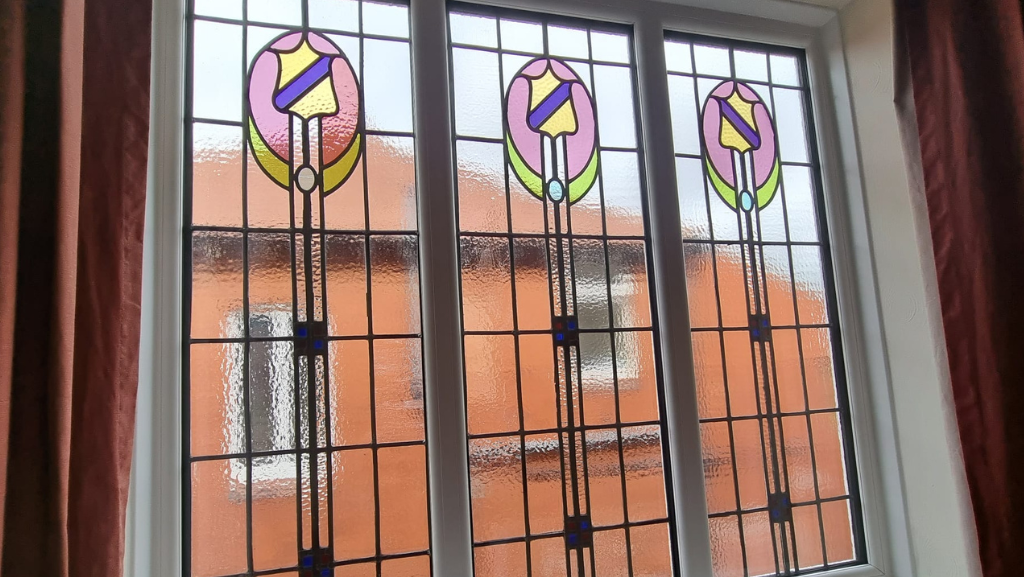
The Final Product
The result of our stained glass encapsulation project is a stunning blend of old-world charm and modern efficiency. The vibrant, intricate designs of the 100-year-old glass are beautifully preserved and now shine brilliantly within the triple-glazed units.
This final installation not only enhances the home’s look but also boosts its energy efficiency. Check out the video of the process below!


Frequently Asked Questions About Stained Glass Encapsulation
No. The process is designed to preserve the look of the original glass, with clear protective panes that do not detract from the design.
Yes. Encapsulation reduces heat loss, draughts and external noise compared to traditional single-pane stained glass.
Yes. Encapsulated stained glass can often be fitted into new window frames, composite doors, or replacement glazing units while preserving the original decorative panel.
Yes. The additional glazing layers help reduce sound entering the home, making rooms quieter and more comfortable.
The original stained glass remains delicate, but the additional toughened glass layers provide external protection and help reduce the risk of accidental damage.
Encapsulated panels typically require very little maintenance. The sealed glazing unit protects the stained glass from dirt, moisture, and weather exposure, helping preserve its appearance.
Yes. Sealing the stained glass within a glazed unit protects it from weather exposure and condensation, helping extend its lifespan.

Staywarm Energy Is Becoming Staywarm Windows & Doors
For years, we have been helping homeowners improve their properties with high-quality windows, doors, conservatories, [...]
May
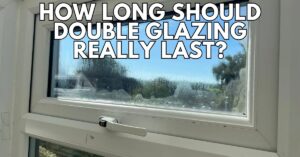
How Long Should Double Glazing Really Last?
Double glazing is designed to last for years, but it won’t last forever. If your [...]
Mar

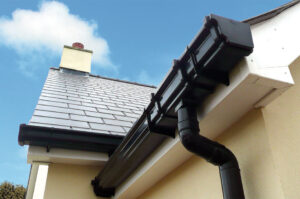
When Should You Replace Your Guttering? A Homeowner’s Guide
Your guttering plays a vital role in protecting your home from water damage, yet it [...]
Jan

Are uPVC Doors Worth It? Cost, Lifespan & Benefits Explained
uPVC doors have been a staple in British homes for decades. Known for being affordable, [...]
Nov
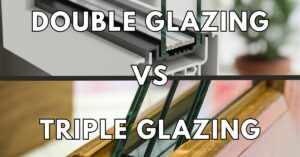
Double Glazing vs Triple Glazing: Pros, Cons and Costs
When you’re thinking about upgrading your windows, one of the first questions is: double glazing [...]
Sep
Fascias, Soffits and Gutters Explained
When thinking about home improvement, most homeowners focus on windows, doors, and insulation—yet one of [...]
Aug